I'm not a makeup artist but I really love doing my makeup now that I know how to play up (and down) certain features that make me look my absolute best. The Kardashians made contouring famous, but the internet made contouring EASY! Here are my favorite ways to contour, including my best advice on what products to use and how to artistically blend everything together (this is actually a very KEY part of it). It's honestly a lot easier than it looks and everyone has their own style, but the idea is to watch how different people "beat" their face to get a sense of what techniques you think will work best on your face shape and type of skin.
QUESTIONS TO ASK YOURSELF BEFORE CONTOURING
For example, do you like cream foundations? Can your skin handle them? Or would you prefer to stick to powder based contouring? These are good questions to ask yourself before spending any money. Personally I use a combination of creamy contouring/highlighter products in addition to a cream foundation, and then I go over everything with powder after setting but I don't have oily skin. Your skin type will help determine what product lays best on it, and my advice is always to defer to happy skin. I would also recommend finding a foundation you love that allow you to layer because contouring/highlighting is essentially a layering process.
LET'S GET INTO IT!
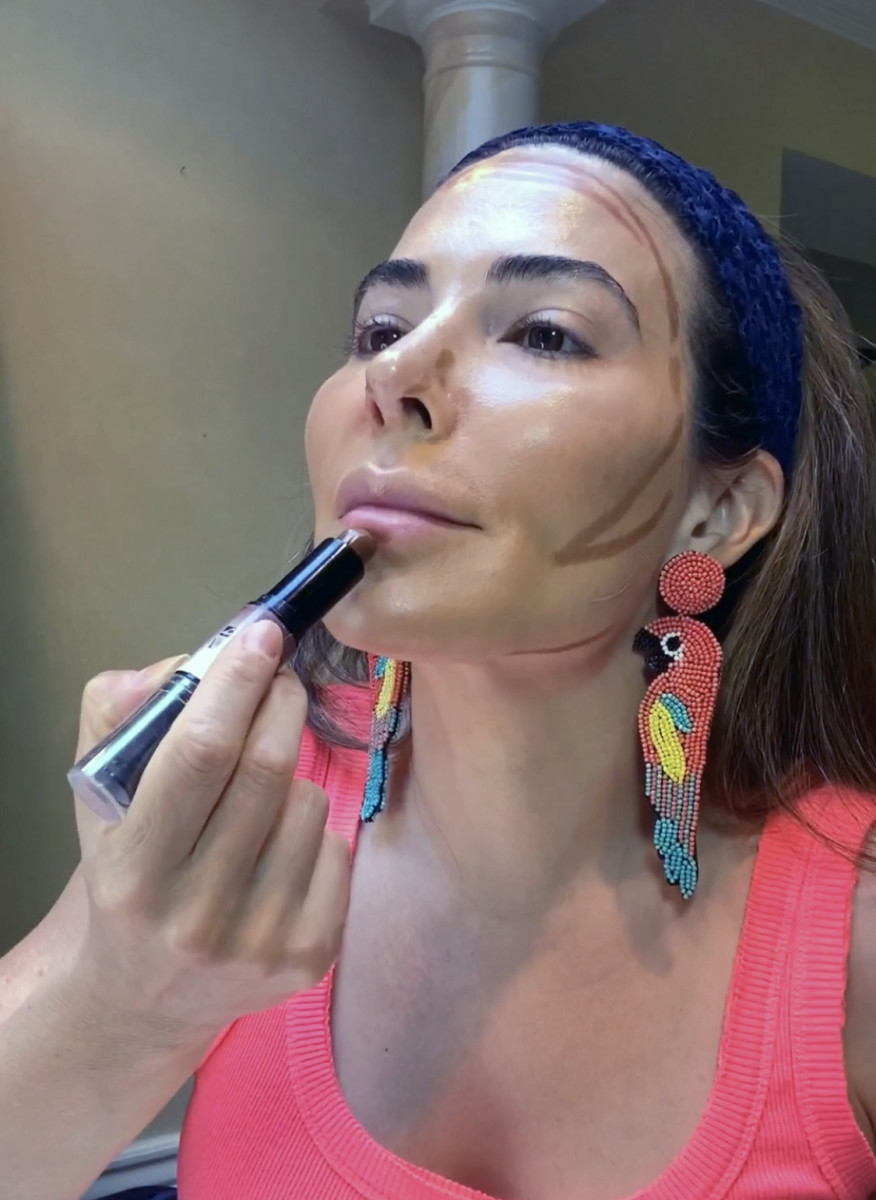
So this is a snapshot from a video I'm about to show you. But this is basically how I prep my face with a darker contouring colors (2-3 shades darker than my skin) before blending. I will also go in and apply highlighter to the forehead, nose, cheeks and undereye before blending everything out. You also want to make sure your highlighter is 2-3 shades lighter than your skintone.
Watch this video below (which I edited in fast-forward mode) to see where I make my contour lines and how it all comes together. This is a very typical contouring and makeup look for me, so I thought it would be appropriate to share. As you can see, I like to reduce my forehead length, pop my cheekbones and soften my jawline. I also like to pop the bottom lip by underlining it.
Before I go into tools and products, I want to share another video from a girl who slowly walks you through her face contouring technique, which I quite like. The video even says it's for beginners but as someone who's been contouring FOR YEARS, I still learned a lot from it. I really like how she thoroughly applies her highlighter first and the underglow she achieves from her technique. I think it's really valuable to identify your face shape (heart, round, square, oval, etc) as she does and then decide how you want to give whatever shape you have more dimension and even softening. Watch this below...
TOOLS I RECOMMEND FOR CONTOURING
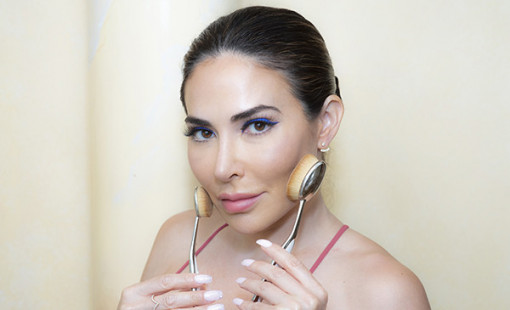
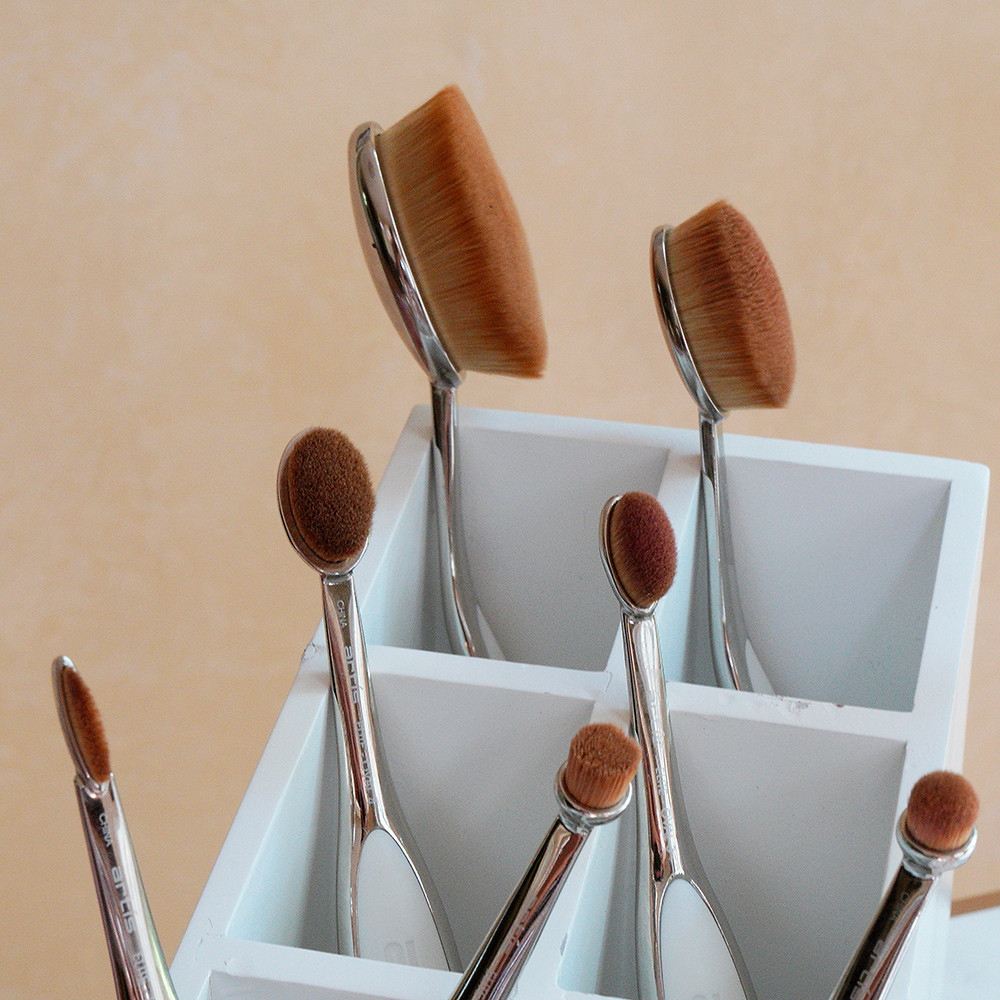
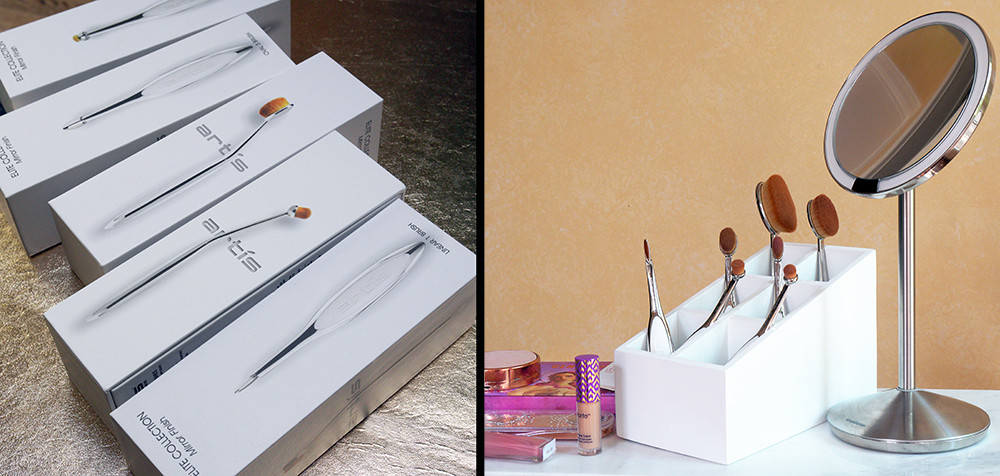
Okay, let's talk tools! You're going to need blending brushes, faces sponges (of various sizes), a nice dusting powder brush, and a wide powder brush. Some people use more than this but I'm going to keep it simple for our purposes. My favorite brushes to use are Artis Brushes. Any Artis brush that's Oval 6 sized (the most popular size) sand larger is superb for contouring. The Elite Mirror Finish Collection is what you see here and is what I personally own, but Artis has a bunch of great collections and the bristles are all spectacular quality (here's a set I recommend). The main difference between most of the collections is just the handle design.
When you're blending your contouring lines into your skin, you can tap the color out with your sponges or smoothly blend it out with these brushes. The brush heads are so smooth and feel incredible on the skin, giving you a nice finish. I usually blend with both a sponge and a brush.
You can always walk into an Ulta or Sephora and grab a variety pack of sponges--that's what I usually do. Or just BUY THESE. I like this mix because you're going to need mini sponges for places like your nose, mouth and eyes. And having sponges with different angles is also nice for tapping and blending out your lines.
MY FAVORITE PART >>>> PRODUCTS I RECOMMEND FOR CONTOURING & HIGHLIGHTING!!!
I'm such a dork but I love cosmetics so much. I have a lot of makeup. I've tried it all and I never hold on to anything that doesn't work for me. Here's my list of everything I swear by for contouring. I don't like to spend a lot of money on makeup so nothing here aside from my foundation is too expensive.
- NYX Contour "Wonder Stick" - You can make your lines with it. One side is contour, the other side is highlighter.
- Tarte Cosmetics Shape Tape Concealer for Contouring - Use this for undereye area and any pesky blemishes. It works better than anything else I've tried.
- Tarte Cosmetics Shape Tape Highlighting "Glow Wand" - This is amazing for adding glow to the areas you've already highlighted, like top of cheeks, tip of nose, cupid's bow and forehead.
- MAC Prep+Prime Peach Lustre Dark Spot Corrector Pen - I use this to cover up my dark spots, any red blemishes and my annoying melasma/hyperpigmentation. The peachy color cancels out brown and red spots. It's fantastic!
- MAC Prep+Prime Highlighter Light Boost Pen - I use this as my base highlighter because it's matte, the color is nice and it's long lasting.
- Tarte Cosmetics Shpae Tape Setting Spray - It smells nice and does the job of keeping your hard work in place!
- Chantecaille's Future Skin Oil Free Gel Foundation in Shea or Wheat color - I'm LITERALLY MARRIED to this foundation and I won't use anything else!
- Tarte Comestic Breezy Cream Bronzing Compact - this is another GREAT option for contouring with deeper, more saturated color than the NYX stick I mentioned. I use these when I'm really taking my time with my makeup application. I have it in Seychelles (lighter) and Grace Bay (darker) and love how creamy the texture is.
- For powder, I sort of just play with a bunch of different foundation powders I have based on how pale or tan I am. I can't really recommend 1 because I jump around a lot.
As you're using these products, my suggesting is to apply gently and start small. You can always add more color in. When blending, begin by tapping with a damp sponge. As you get better at the process, you can integrate quick brushing (something I do just to save time). But I personally feel that tapping product into your skin will get you the best results.
MORE TIPS AND TRICKS FOR YA HERE...
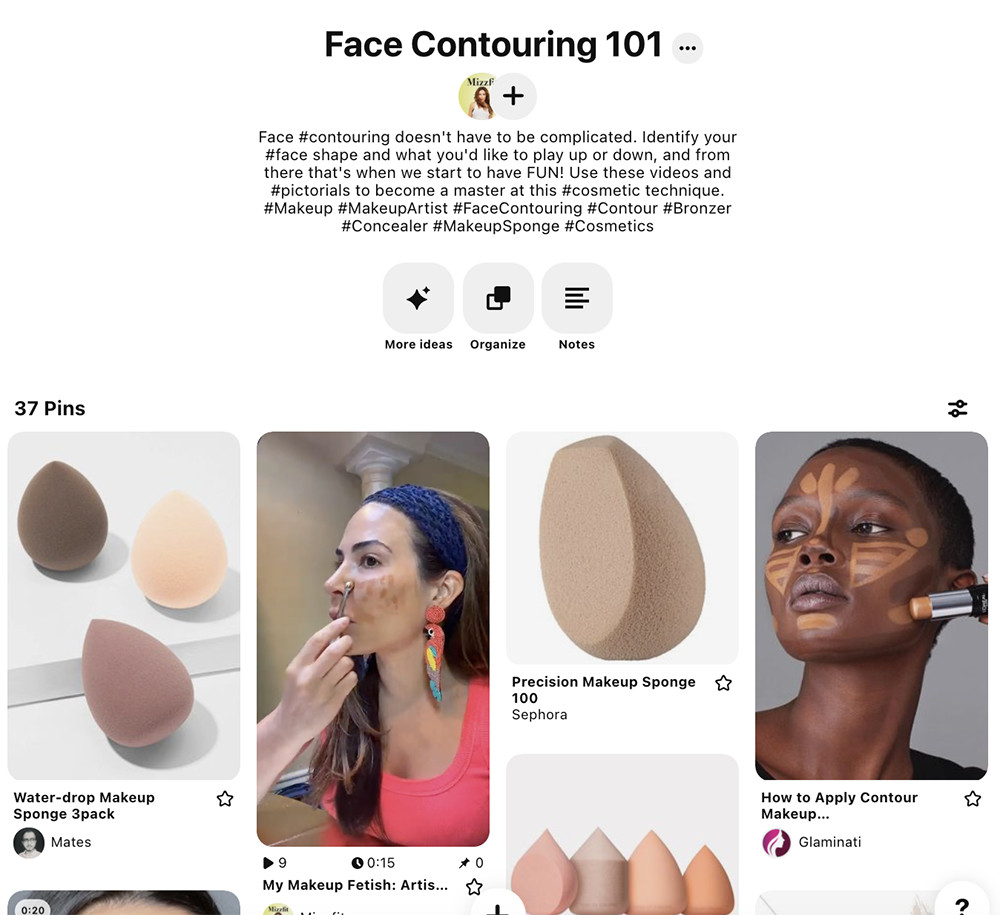
I created a Face Contouring 101 board on Pinterest, which includes my favorite pictorials, step by step videos and contouring makeup products & tools. I actually created it as creative space just for me that I could refer to and quickly pull up when I'm doing my makeup. But as I've become a lot more active on Pinterest, my boards are all community-based and I'm including more pins for face shapes and skin tones other than my own. Having these references allows me to contour stress-free and almost a little mindlessly. Not sure about you, but sometimes when I'm in a rush and doing my makeup, I get a shaky hand. Having a guide makes the makeup application world's faster! Take a peek by clicking the Pinterest image below :)
And that's it! Hope you've enjoyed my tips and resources. Feel free to add commentary below and any insight you have from doing your own face! Gracias!
